


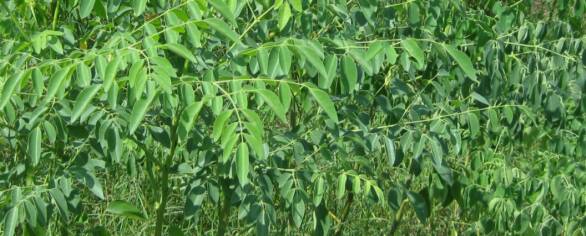
full-grown, full-blown Moringa tree, so...we'll show you how to grow one, and keep it "dwarf-size".
~ ~ ~ TO GROW A DWARF MORINGA TREE ~ ~ ~
Click here to add text.
Moringa Matters
HOW TO GROW
A DWARF
MORINGA TREE
~~~~~~~~~~~~~~~~~~~~~~~~~~~~~~~~~~~~~~~~~~~~~~~~~~~~~~~~~~~~~~~~~~~~~~~~~~~~~~~~
THINGS YOU WILL NEED
- Planting container, 12 inches to 18 inches wide
- Moringa seeds of any variety
- Loose potting soil
- Warmth
- Sunlight
- Water
- Pruning shears
- Patience
PLANTING THE SEEDS
* If you are planting Moringa Oleifera seeds, do not despair if they do not sprout in that time. Our consistent experience with them, is that they are "fickle sprouters"!
WHAT TO DO ONCE THEY HAVE SPROUTED
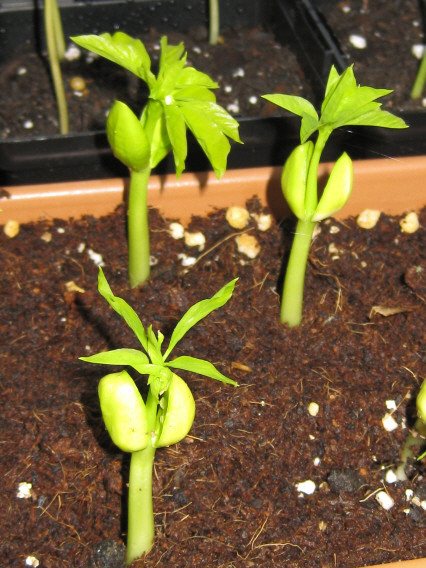
The photo to the right, is of little Moringa Stenopetala sprouts. You see, that
they still have their seeds attached to their stems. That is called a cotelydon.
They will eventually fall off, after they wither. The Moringa Oleiferas will
not have those: they come up with just their leaves showing.
Wait until the Moringa seedlings have at least two tiers of branches, and then you should start to pinch back their tops. New leaves sprout at the tops of Moringas and in the junction or "crotch" of the branches. Even though Moringas grow fast, you will have to be patient while training them to stay small. Because they just love to grow, and are one of the fastest growing tropical trees, you need to check them for new leaves at least once a week.
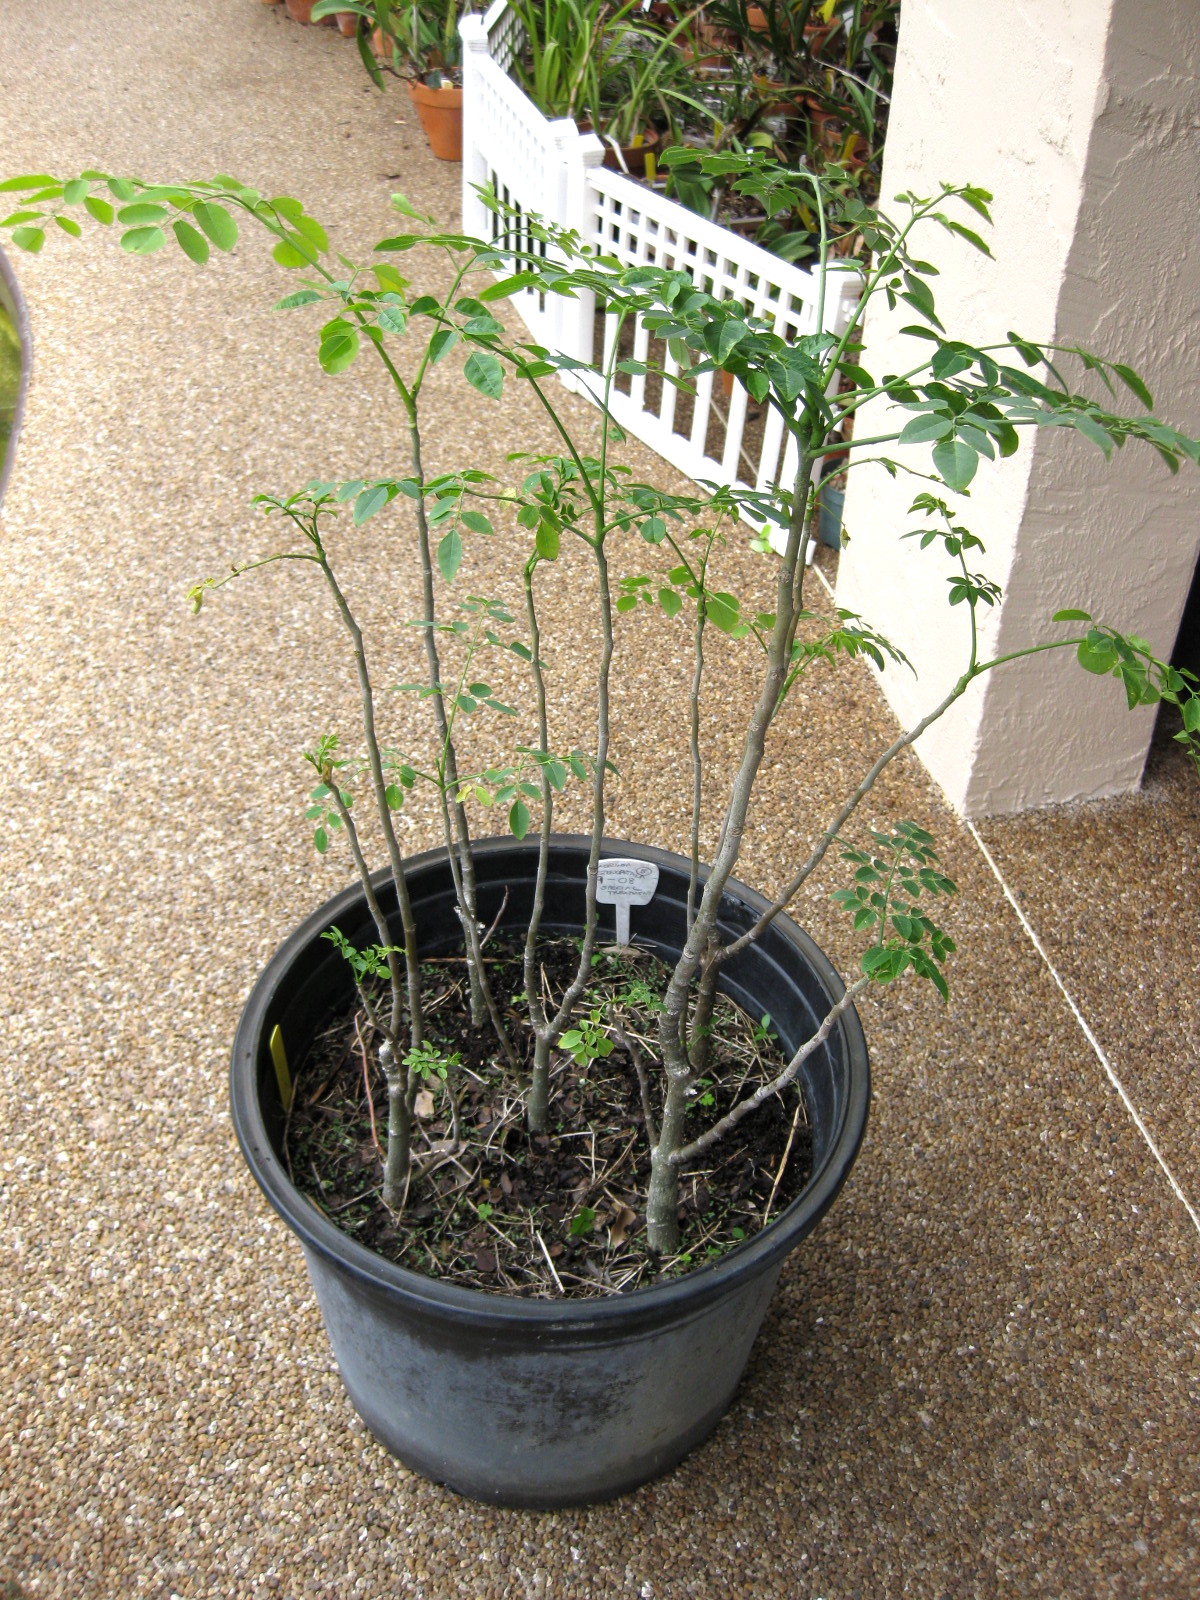
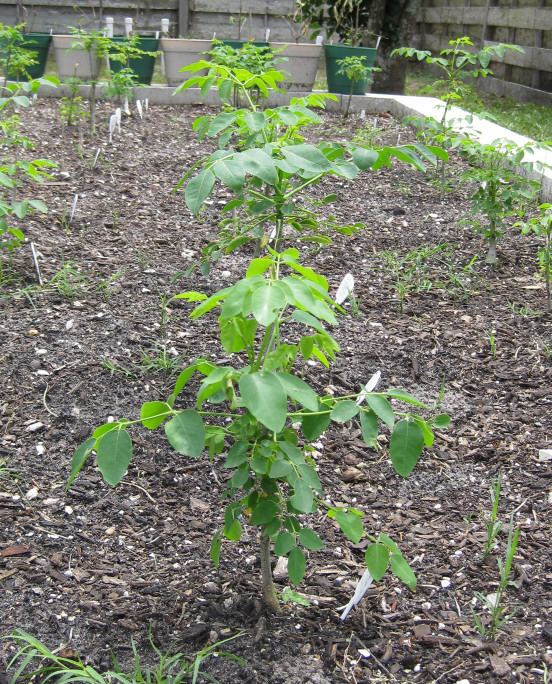
When they are about 18 inches tall, we chop the branches' length off, to about 1/2 of their size. This forces new growth down along the trunks, as seen in the photo to the right. >>>>>>
When they are still young, the trunks will be green. As your Moringa seedlings mature, if you follow the directions in the two paragraphs above, you will notice that the trunks start to become "woody" in texture, and brown. Now, you have a small tree.
Your Moringas can stay in their pots, and will remain small, if you continue to pinch back the top growth, and cut the branches' length in half. To insure that they get the proper nutrients, a light application of an organic fertilizer can be applied about once a month.
We rarely fertilize ours, and they thrive. If the leaves start to "yellow", it means that they need some magnesium, which can be in the form of Epsom salts, or you can use powdered oyster shell, or egg shells, or dolomite. Just sprinkle some around the base of your Moringas, and water it in.
Please remember - Moringas do not like their roots standing in soggy soil. The roots will rot, so be sure that wherever you plant your Moringas, provide them with good drainage. Be sure that the bottom of you pots have holes in them, to allow excessive water to drain off. Pebbles in the bottom of the potting containers is effective, or spaghnum moss, or a layer of broken clay pots or crocks.
FOLLOW THESE SIMPLE DIRECTIONS, AND YOU WILL HAVE A DWARF MORINGA TREE
We have had some Moringa Stenopetalas in their original pots, for four years now. They are hearty, and productive. This method works wonderfully with that variety. With the long pods that grow from the Moringa Oleifera trees, and other varieties, it is much more of a challenge!
This page was last updated: 9/1/2022

MORE LINKS
MORINGA INFO